Frequently asked questions, tips & tricks
Easy designing of labels. Here you’ll find help, tips and tricks on how to use LabelAssistant Online.
If you don’t find an answer to your question or have a special query about LabelAssistant Online, just send us an e-mail at verkaufsteam-handel@herma.de.

Mail merge instructions
-
How do I merge documents?
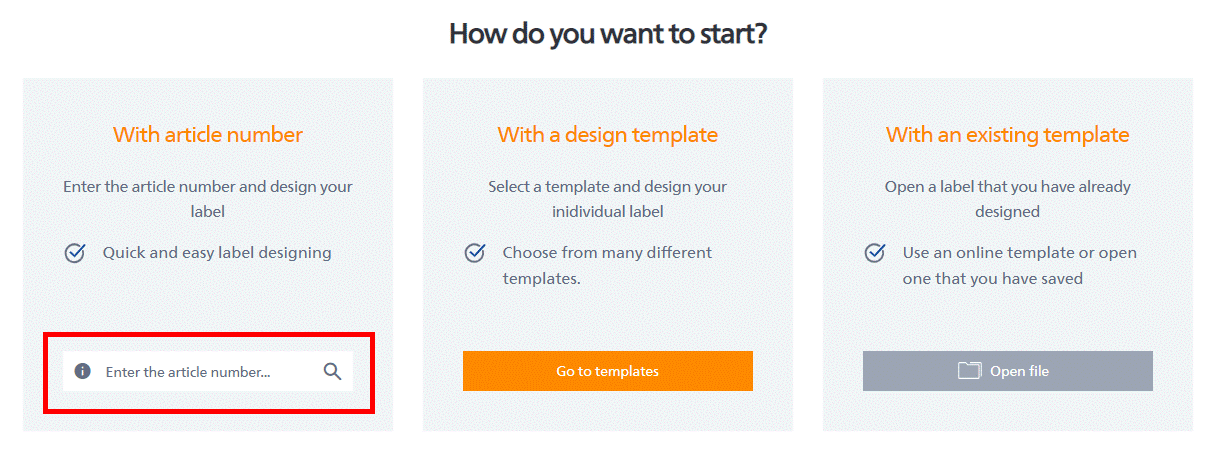
1. Open LabelAssistant Online, enter the article number in the selected field and press Enter.
2. This takes you to your workspace. Click on the “Mail merge” icon (see illustration).

3. The mail merge assistant now appears. Click on “Here we go”.

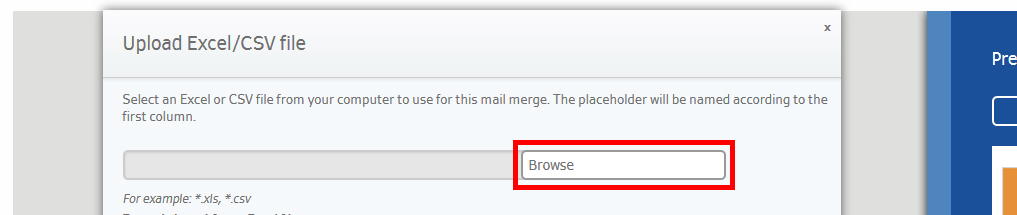
4. In the next window, click on “Browse” to find your Excel file for mail merge. Please make sure that this file does not have any hidden columns, hidden rows or merged cells. In the first row, placeholders should be defined for the various columns.
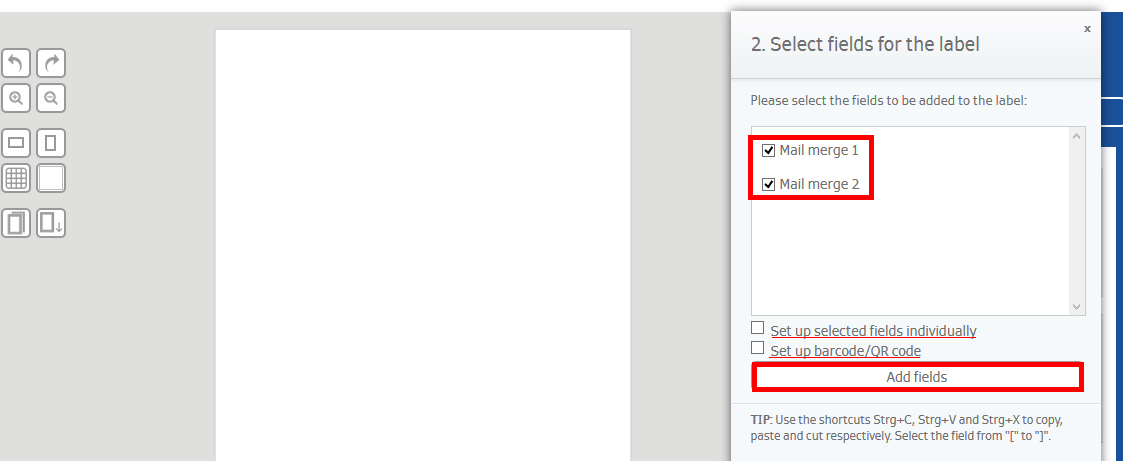
5. When you have uploaded the Excel or CSV file, a window will appear with a list of the columns in your file. Click on the fields to select the ones that you want to add to your label. Click on “Add fields” to add fields as groups of placeholders.
Tip: In this window you can also choose whether to create fields independently or as barcode or QR code. Click on “Finish up and continue” to print your labels or continue editing them.
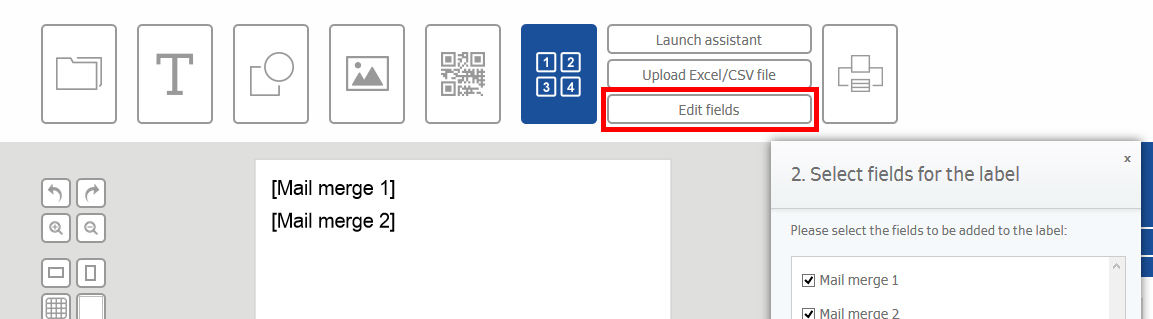
6. Position the placeholder fields on your label as needed – done!

Tip: When you are finished, use the PDF preview to check your labels. Certain text fields might be too small, in which case you will have to adjust your layout. To edit selected fields which you have created, select the “Mail merge” button.
Note:
The design software is not optimised for mobile devices.
However, you can open it or send the link to yourself by email. To do this, click on "Send link". In this way you can open the software later on your desktop PC.
Send link